Feeling comfortable and fashionable by the water this swim season
By Ellyn Mantell
Living on the East Coast means sand and sun as soon as the calendar pages turn to May, and most have great difficulty saying farewell to the ocean each fall. The smells of delicious boardwalk foods, carnival-style rides, miniature golf and people-watching on the beach fill the days and nights of the summer months. It seems, for all of us, there are not enough opportunities to enjoy our vacations or weekends, and ostomates certainly do not want our particular issues to slow us down!
The first summer after my ileostomy presented a bathing suit challenge, and my creative energy began to flow. Since I love whimsy, I bought a black and white polka dot swimsuit bottom from an ostomy clothing company, which has a place for my pouch, and a soft drape to the fabric. I paired it with a vibrant red tankini, which I bought at a bathing suit store in the local mall. For those unfamiliar with tankinis, I am happy to extol praises on their wearability for all women – they are simply tops for a two-piece suit, but unlike a bikini top, which exposes the abdomen, tankinis cover the entire abdomen and are exceptionally flattering. Incidentally, this 2-piece approach works very well for those of us with a smaller upper body, or vice versa. I loved wearing my attractive ensemble, my pouch was hidden, and my self-esteem was certainly not deflated!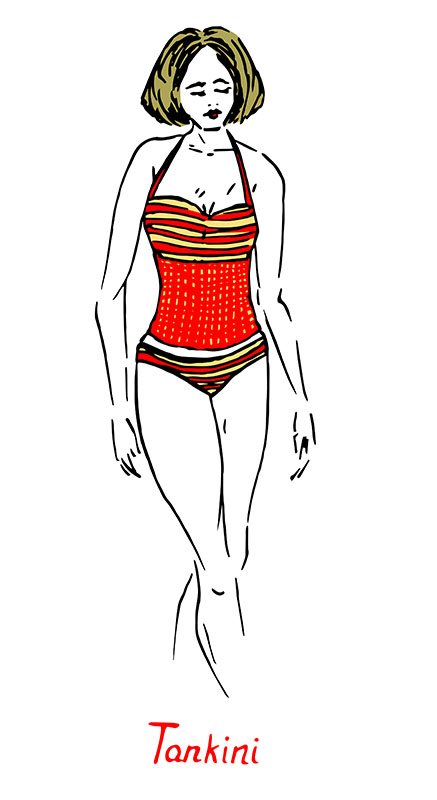
In addition to the 2-piece approach, many women enjoy wearing a sundress, since, like the ease of a “little black dress,” the fit is extremely flattering and there is no concern about pulling together disparate pieces. Most women have a preference about the type of bathing suits they want to wear, and our ostomies do not preclude us from our choices, particularly for those who wish to actively swim or dive. There are even high-neck active swim lap suits for serious swimmers.
Coverups have always been a staple for women, and they are ever more important to some ostomates. A flowy chiffon or traditional linen coverup provides a vertical line for the eye, and since color is always attractive, prints, brights, black and white all call attention upward, making the legs look longer and thinner.
Men can now find specialty ostomy swimwear online and know their pouches are safely protected while swimming or diving, as well. Some prefer to wear under their suits products such as a swimwear coverup or ostomy support wrap, made with lightweight water-resistant material to provide structured support, while compressing the pouch against the body. If there is real concern about the efficacy of their pouching system, some men and women prefer to use a waterproof ostomy cover. And speaking of coverups, men may consider swim shirts, sweatshirts or t-shirts to cover themselves.
No article on bathing or swimsuits would be complete without a conversation about sun protection clothing. This category of swimwear is growing exponentially each year, since the sun is stronger than ever, and our knowledge of the need to be proactive in protecting ourselves is better understood. If you look online you will find UV, sun-retardant and even chlorine resistant swimwear.
Now throw a good book or The Phoenix Magazine in your tote bag, add a huge hat or baseball cap, fabulous sunglasses, throw in SPF 50 Sunscreen, some ostomate-friendly nibbles and lots of cool water. Enjoy the day, summer never lasts long enough!
Ellyn Mantell blogs at morethanmyostomy.com and is a UOAA advocate and support group leader from New Jersey.


 Support Made the Difference Before Reversal
 Wow. Right?